Krefeld lab specifications brochure English
Our comprehensive range of mechanical test methods assures you reliable and meaningful data that can be applied to almost any problem or application. Put us to the test!

The UL Solutions' plastics testing laboratories can carry out the following mechanical tests for you. The reference standards used for each test method are listed in the right-hand table column.
The mechanical properties are determined not only by the material properties but also by the product design, which is why only finished parts can be tested for certification purposes. Mechanical tests are also performed on test specimens in conjunction with hot-air aging tests (RTI) and other conditioning methods, e.g. weathering (f1 or f2).
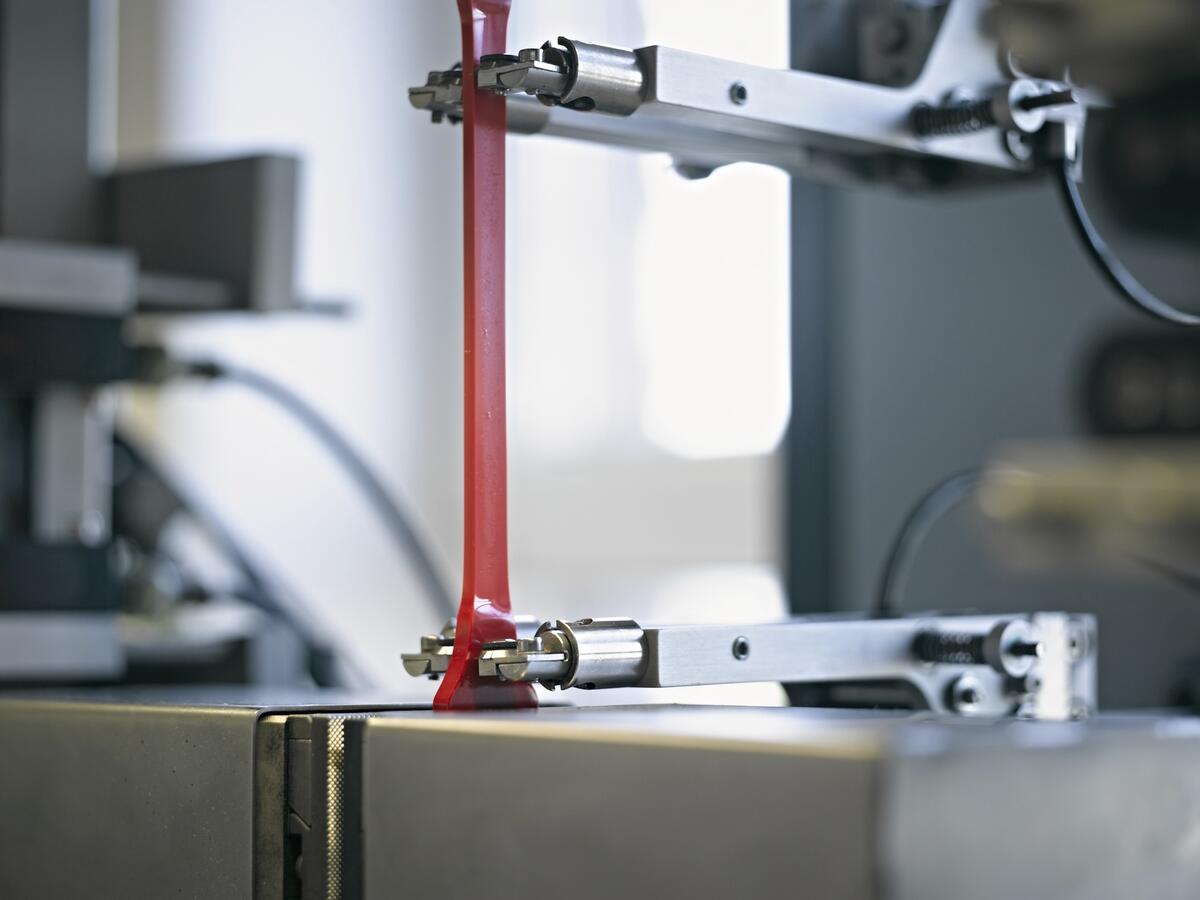
This test method is used to assess the behaviour of plastics when subjected to uniaxial tensile stress.
The advantage of the tensile test is that even ductile materials can be tested to complete break point. The elasticity modulus (E modulus) serves as a parameter for comparing different materials and is a measure of stiffness. The test is possible within a temperature range from –40°C to +230°C.
Standards for Tensile test
UL746A, ASTM D638, ISO 527-2, ASTM D412, ISO 1798, ASTM D882, ISO 527-3, or equivalent standards
This test method enables the strength and dimensional change properties of plastics to be determined when subjected to three-point loading.
Three-point loading produces tensile, compressive and shear stresses in the test specimen. The elasticity modulus (E modulus) serves as a parameter for comparing different materials and is a measure of stiffness. The test is possible within a temperature range from –40°C to +230°C.
Standards for bending test
UL 746A, ASTM D790, ISO 178, or equivalent standards
The tensile impact test is a tensile test with a very high deformation speed.
However, the only value determined is the impact energy consumed. The tensile impact test frequently has a large spread of measured values. It should consequently only be used if no break occurs in impact or notched impact tests or if it is expressly required, for example in case of thermal ageing according to UL 746 B in order to determine the TI.
Standards for tensile impact test
UL 746A, ASTM D1822, ISO 8256, or equivalent standards
The Izod impact test is a quick and simple test to facilitate a comparative material assessments. Amongst other things, it is used to investigate the effects of changed formulation, compounding or injection molding conditions on the test specimen. Different effects can be simulated by varying the temperature and the notch shape.
Notched test specimens must be used in order to produce a break in ductile materials. The test is possible within a temperature range from -60°C to +80°C.
The Charpy impact test is a quick and simple test to facilitate a comparative material assessment. Amongst other things, it is used to investigate the effects of changed formulation, compounding or injection molding conditions on the test specimen.
In the Charpy test, the test specimens are subjected to stress in a set-up similar to the three-point loading test and broken as soon as they are sufficiently brittle. Notched test specimens must be used in order to produce a break in ductile materials. The test is possible within a temperature range from –60°C to +80°C.
Standards for Charpy impact test
UL 746A, ASTM D6110, ISO 179-1, ISO 179-2, or equivalent standards
Values for stress and strain such as:
Values for stress and strain such as:
Values for stress and strain such as:
Example: ISO 180/4 A R
Type of test specimen
Flat test specimen with dimensions l x b x h
| Type | Length l | Width b | Thickness h |
|---|---|---|---|
| 1 | 80 | 10 | 4 |
| 2 | 63,5 | 12,7 | 12,7 |
| 3 | 63,5 | 12,7 | 6,4 |
| 4 | 63,5 | 12,7 | 3,2 |
All dimensions in mm.
Type of notch
U unnotched
A notch with 0.25 mm radius
B notch with 1.00 mm radius
Direction of impact
R notch on side facing away from hammer
Key to method
Example: ISO 179/1 e A
| Type of test specimen | Direction of impact | Notch depth |
|---|---|---|
| 1 flat test specimen with dimensions l x b x h | e = edgewise f = flatwise |
U unnotched A notch with 0.25 mm radius B notch with 1.00 mm radius C notch with 0.10 mm radius |
| Type of test specimen | Length l | Width b | Thickness h |
|---|---|---|---|
| 1 | 80 | 10 | 4 |
| 2 | 25 x h | 10 or 15 | 3 |
| 3 | 11 x h or 13 x h | 10 or 15 | 3 |
All dimensions in mm.

Krefeld lab specifications brochure English
Have questions, need specifics? Let's get this conversation started.